
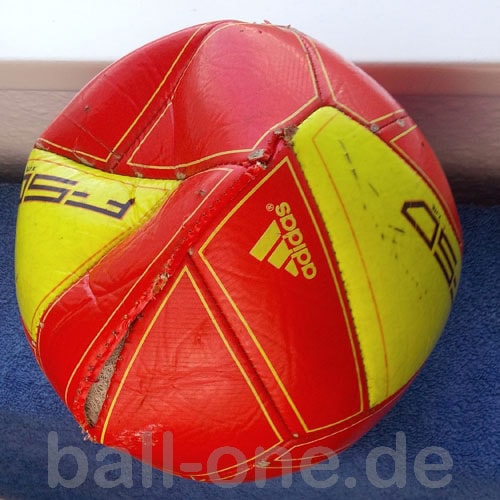
First, the air must be let out of the ball. A seam is then cut opposite the valve and the old bladder is removed.
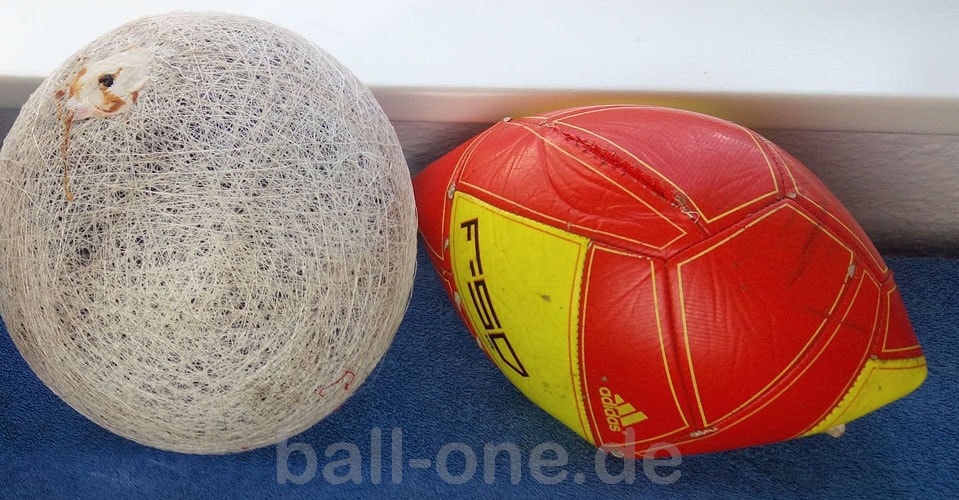
The new bladder must now be glued in. For this, contact adhesive such as “Pattex Classic” is used. It is applied to both halves, allowed to dry, and then the two parts are joined together. The valve hole must be precisely aligned with the corresponding recess.
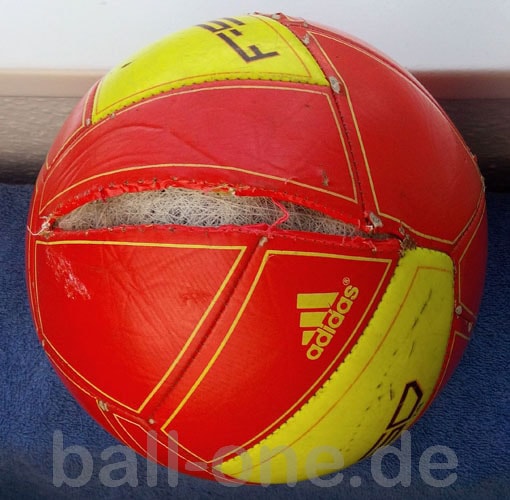
The connection must now already hold. The remaining part of the ball bladder is then inserted into the ball.

Finally, the cut seam must be sewn back together. This is explained in another article/video.
Jetzt auch als Download:
Ball One ist die Online-Plattform zum Thema Fußbälle! Egal ob Vorstellung neuer Modelle, Kaufberatung oder Tipps zur Reparatur, hier wirst du definitiv fündig. Das beste: Alle Gewinne der Website werden zum Wohle des Sports an Vereine gespendet! mehr dazu
Als Amazon-Partner verdiene ich an qualifizierten Verkäufen. Dies ist der Fall, wenn du über einen Amazon-Produktlink auf meiner Website einen Einkauf tätigst.
Advertisement:
Leave a Reply
You must be logged in to post a comment.